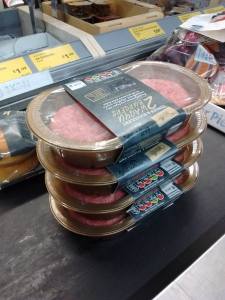
It’s that time again – Aldi bring back the wagyu burgers and people start buying in bulk so that they are all gone within a day! I had to stop myself at 4 packets as it looked a bit greedy!
The first time I tried and even heard of Wagyu beef was in Japan at a teppanyaki restaurant. When they got this piece of meat out to cook I thought they were joking! We were sat in an expensive restaurant and they pulled out the fattiest piece of meat I have ever seen! The chef then went on to explain to us that we should not be alarmed and this was a special type of Japanese beef and the cows are fed beer and massaged! I wasn’t sure how true that was but it what we were told!
I am not really sure how “Wagyu” these burgers actually are after reading a copy of Time Out that I found on a Japanese train last month that described in detail what Wagyu beef actually was. According to the article real Wagyu can only be found in Japan and the cow even has to have an ID number to verify that it is indeed a Wagyu cow.
I found the article! – http://www.timeout.com/tokyo/restaurants/what-makes-wagyu-the-worlds-best-beef
“‘Wa’ means ‘Japanese’ and ‘gyu’ means ‘cow’. So wagyu literally means Japanese cow. If it’s called wagyu outside of Japan, it’s not the real thing.”
But regardless of the authenticity of an Aldi wagyu burger.. they are bloody nice!
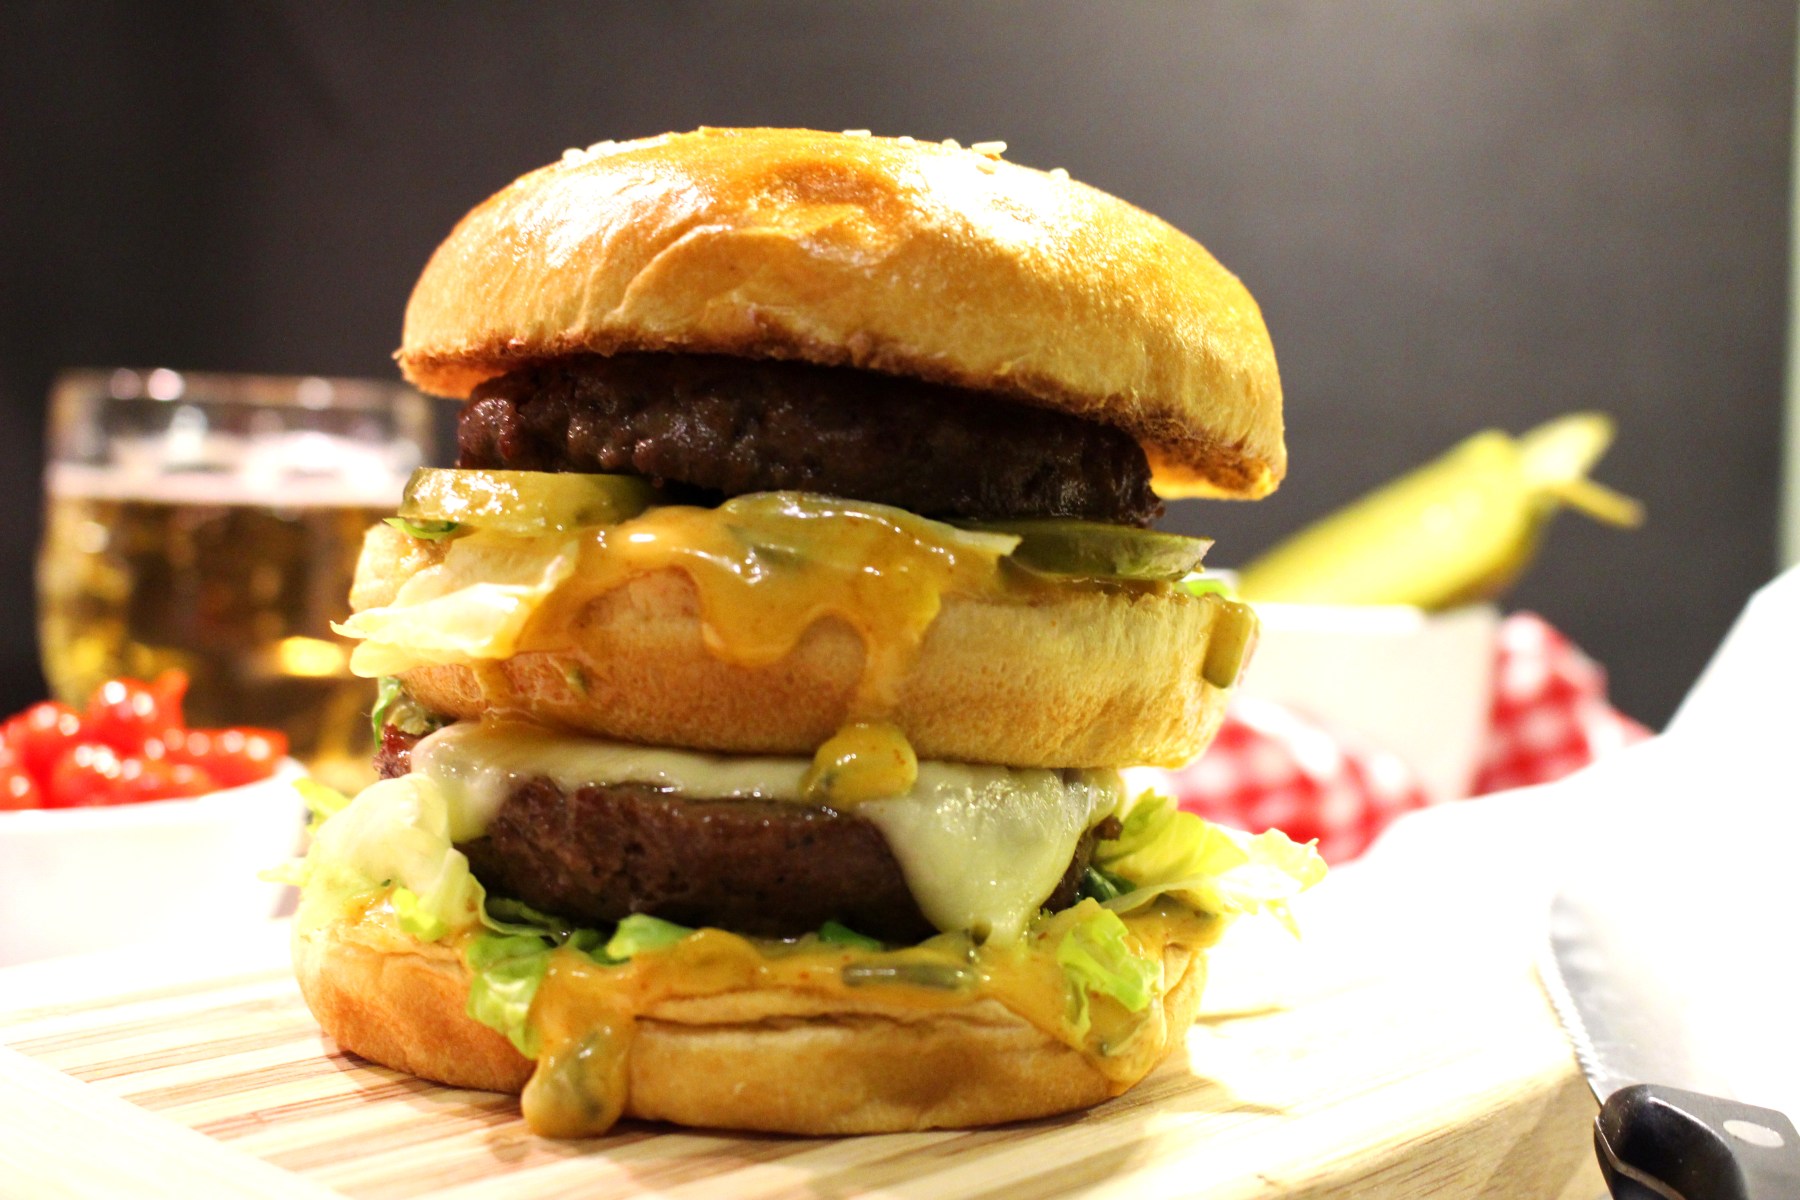
Burgers are everywhere at the moment, donut burgers, 10 foot high burgers, you name it it’s on a burger.. but there is one burger that is my favourite always has been and always will be – the BIG MAC! So therefore I decided to make a Wagyu mac!
I have a bit of an advantage here as I was actually a burger flipper many moons ago! ( we all start somewhere) I got my first job aged 16 at McDonalds and also worked there whilst at Uni and surprisingly I enjoyed it and I look back quite fondly at it. Because of this I know EXACTLY what goes on a big mac, how long it takes to cook, how many shots of sauce are in one bottle and why there are 2 pickles and only one slice of cheese on one side 😉
You can cheat here and buy Mayo but I am going to try and make it as authentic as possible.
Ingredients
If making home made mayo,
1 egg yolk
1tsp mustard
1tsp white wine vinegar
100 ml rapeseed oil
400 ml vegetable oil ( you can use 500 ml if you don’t have rapeseed)
(Don’t use olive oil – I tried this in the past thinking it would be better and it was disgusting! The taste of olive oil is way too strong)
Or just cheat and use a good quality shop bought Mayo.
To make your mayo into wagyu mac sauce
2 gherkins finely chopped
2 tsp Heinz mild mustard pickle ( I used this but its hard to find) or onion relish.
1 tsp lemon juice
1/2 tsp garlic powder
1/2 tsp icing sugar
1tsp white wine vinegar
pinch of salt.
2 tsp paprika (not smoked)
4 Wagyu Burgers from Aldi – if you are lucky enough to beat the rush.
2 packs of Aldi brioche buns – The only place I know that sells them all year round.
1/2 shredded iceberg lettuce
8 sliced gherkins
4 slices of cheese
1 small onion very finely diced.
First of all make your mac mayonnaise, if making the real thing mix the egg yolk, and mustard with a whisk and very slowly add the rapeseed oil whilst still whisking. Then slowly add the vegetable oil in a thin trickle whisking all the time until it starts to thicken, add the vinegar and carry on whisking and adding oil until it is at a mayo consistency.
To the mayonnaise ( home made or shop bought) gradually add the chopped gherkins, garlic powder, vinegar, paprika, icing sugar, lemon juice, salt – tasting as you add to get the balance right – you are looking for a tangy and slightly sweet taste nothing should be overpowering anything else.
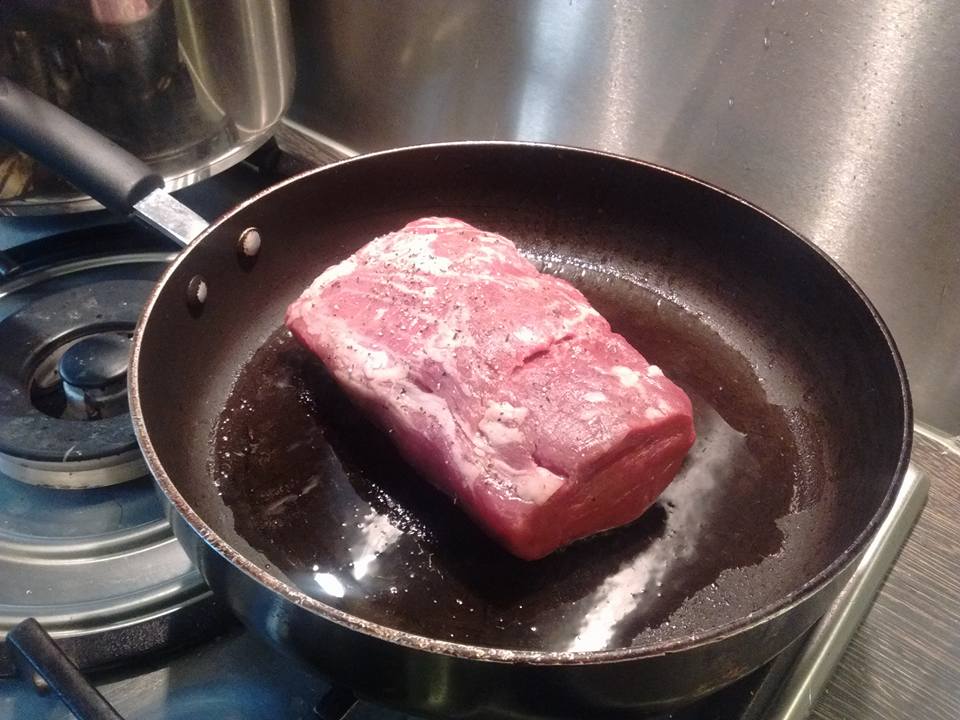
Sear your burgers in a pan and then grill for 10 – 15 minutes turning halfway through. When almost done, slice your burgers in half ( as 2 of these burgers on a wagyu mac would be way too big!!) and make sure they are cooked through.
Separate your brioche buns and lightly toast 2 “bottoms” per burger under the grill ( 8 bottoms)
Put a tablespoon of sauce on each brioche bun slice, a pinch of finely chopped onion and a handful of lettuce . Then add a slice of cheese on the one that will be on the bottom and 2 slices of gherkin side by side ( pickle in every bite!) on the other.
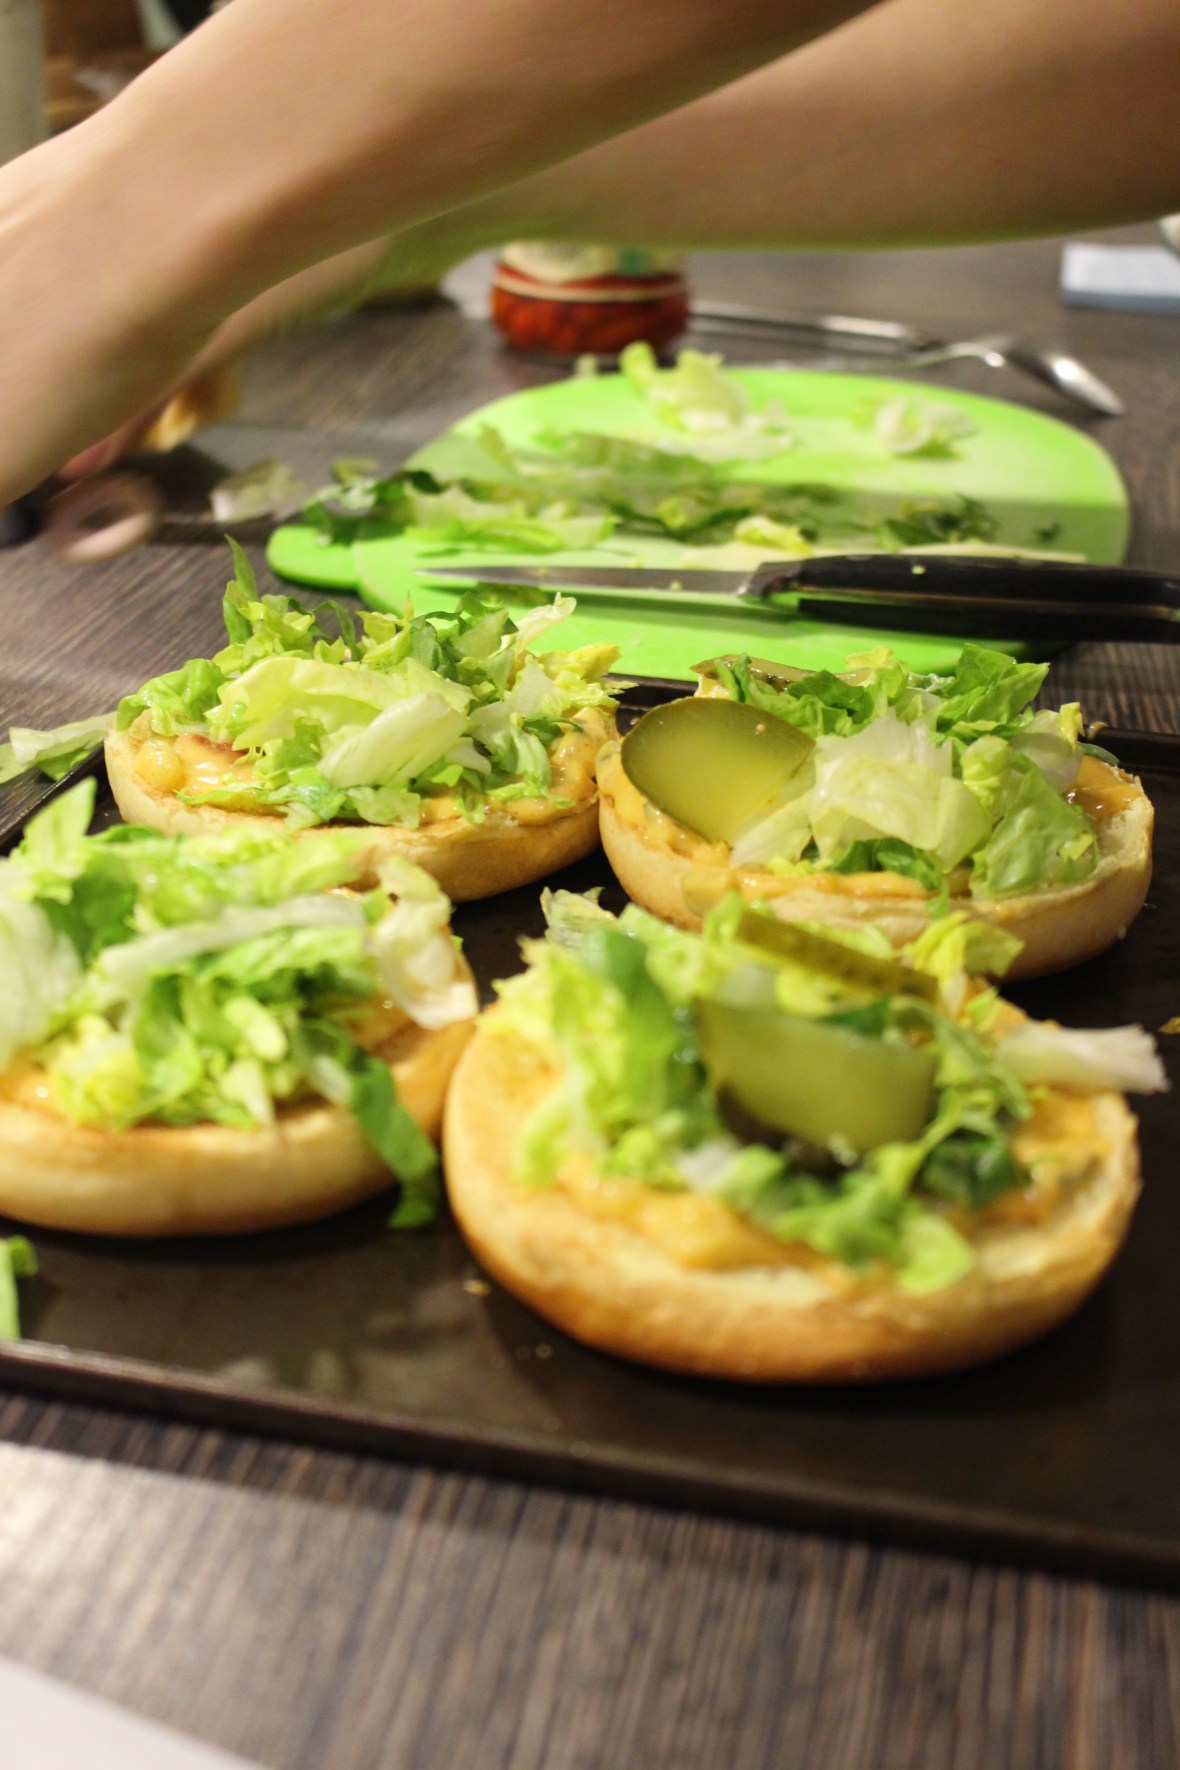
Add a 1/2 burger to each of the slices and stack on top of each other with the cheese on the bottom layer.
Lightly toast 4 burger tops and place on top.
SCOFF!!!


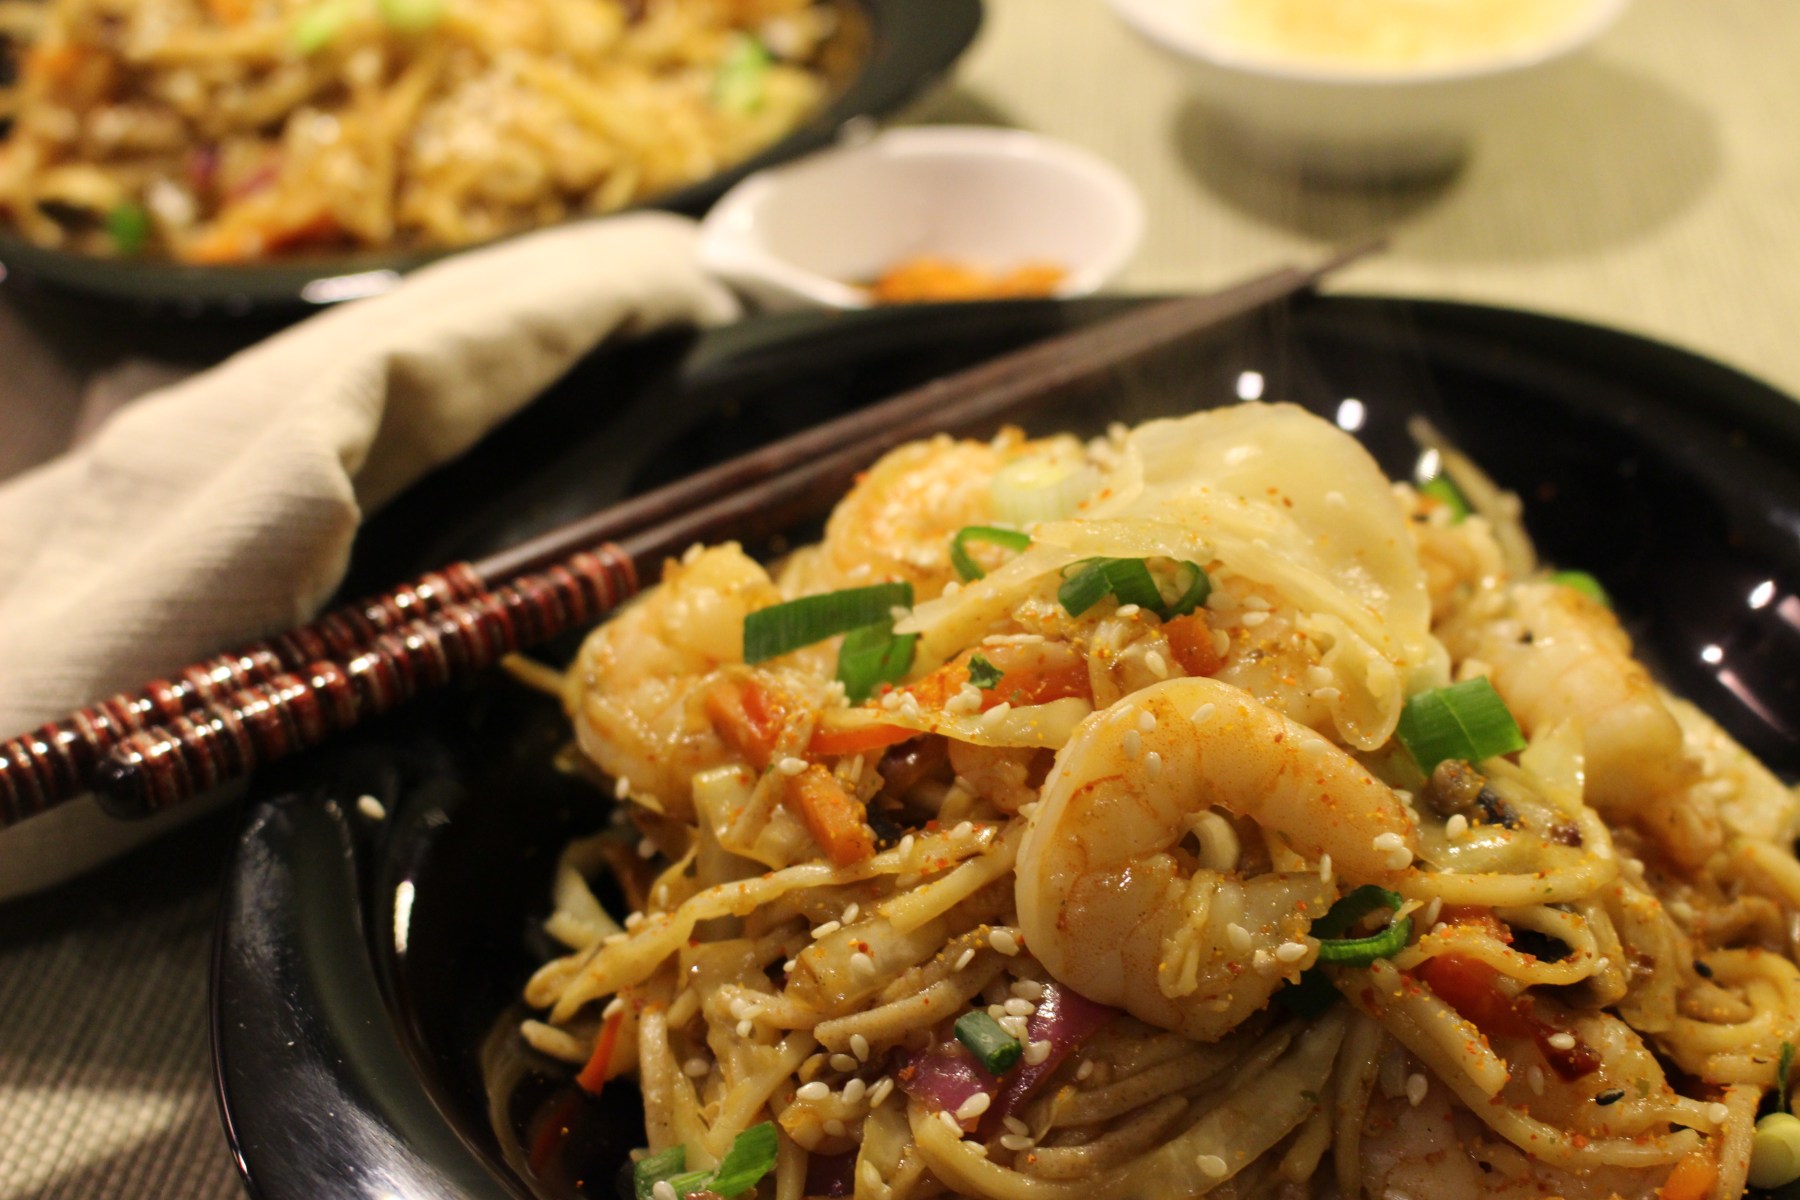
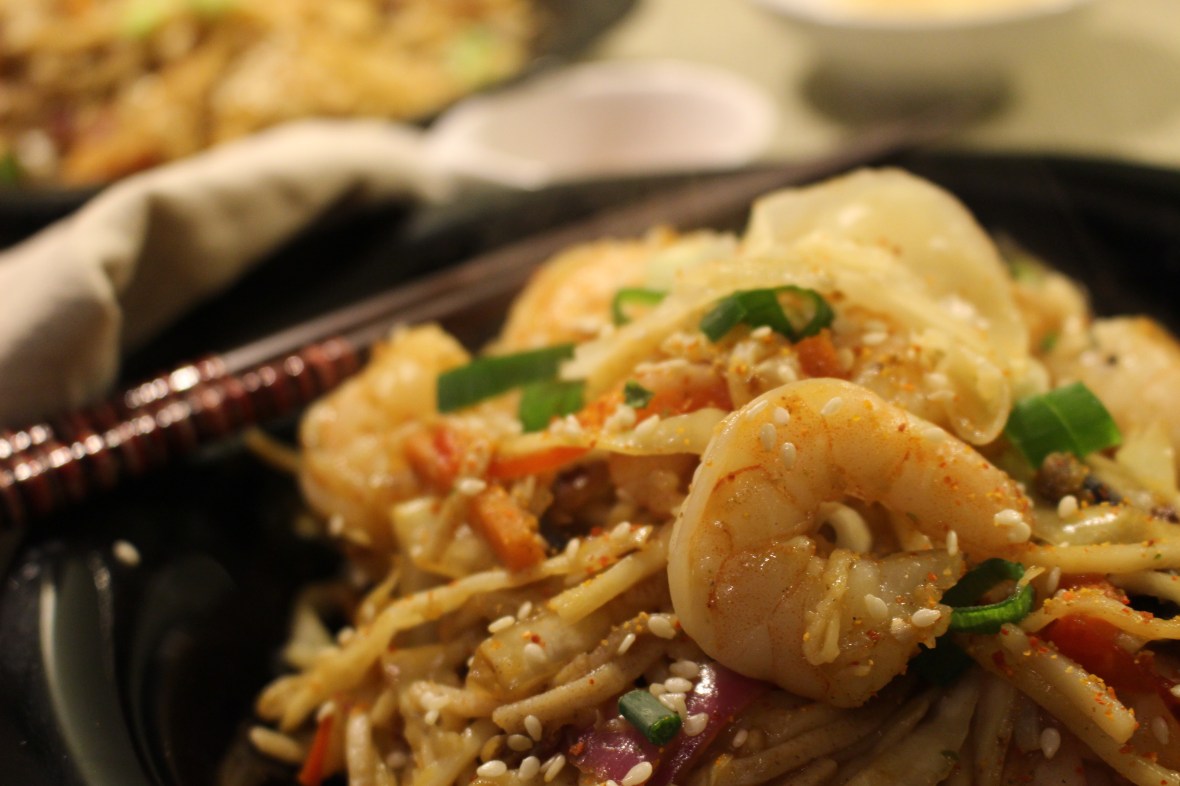


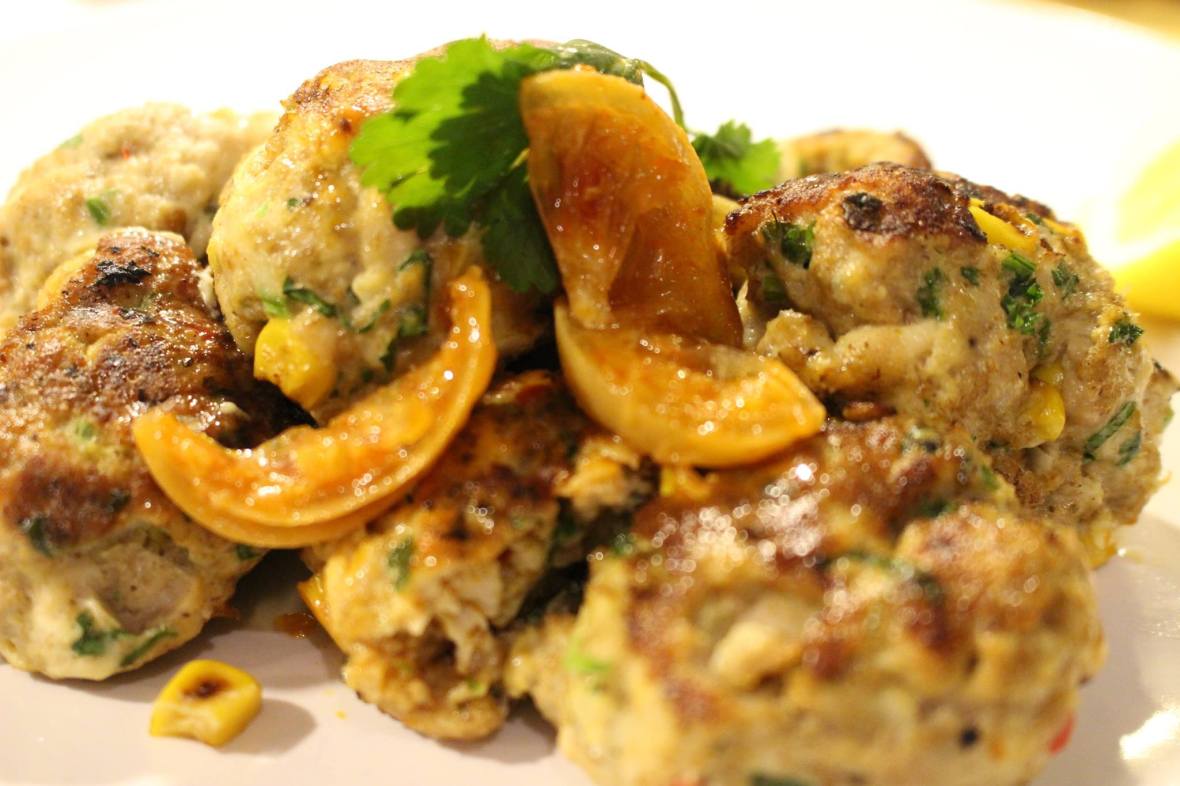

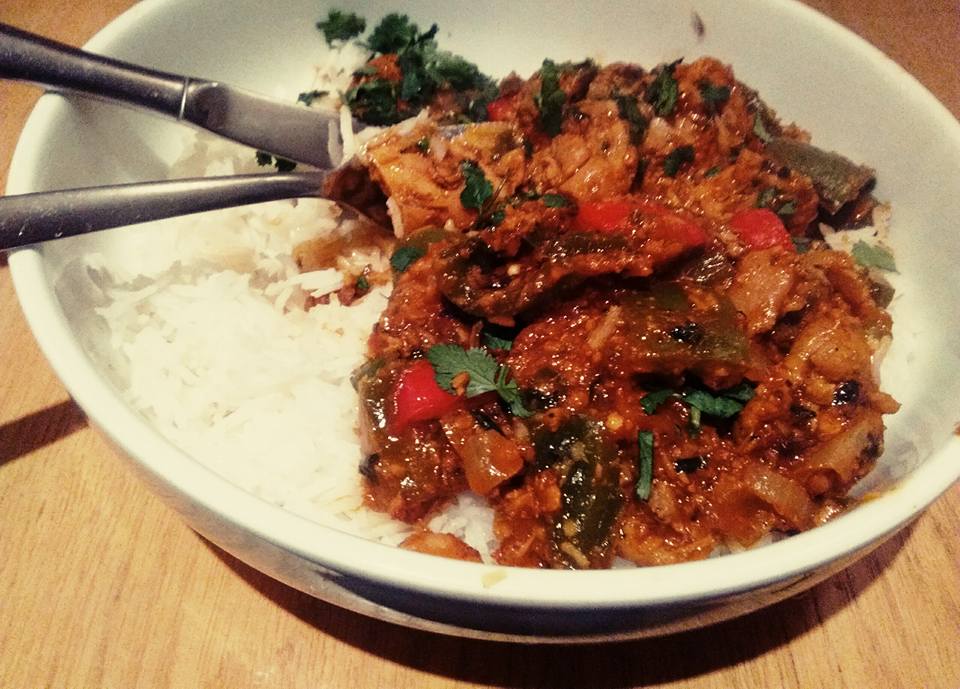
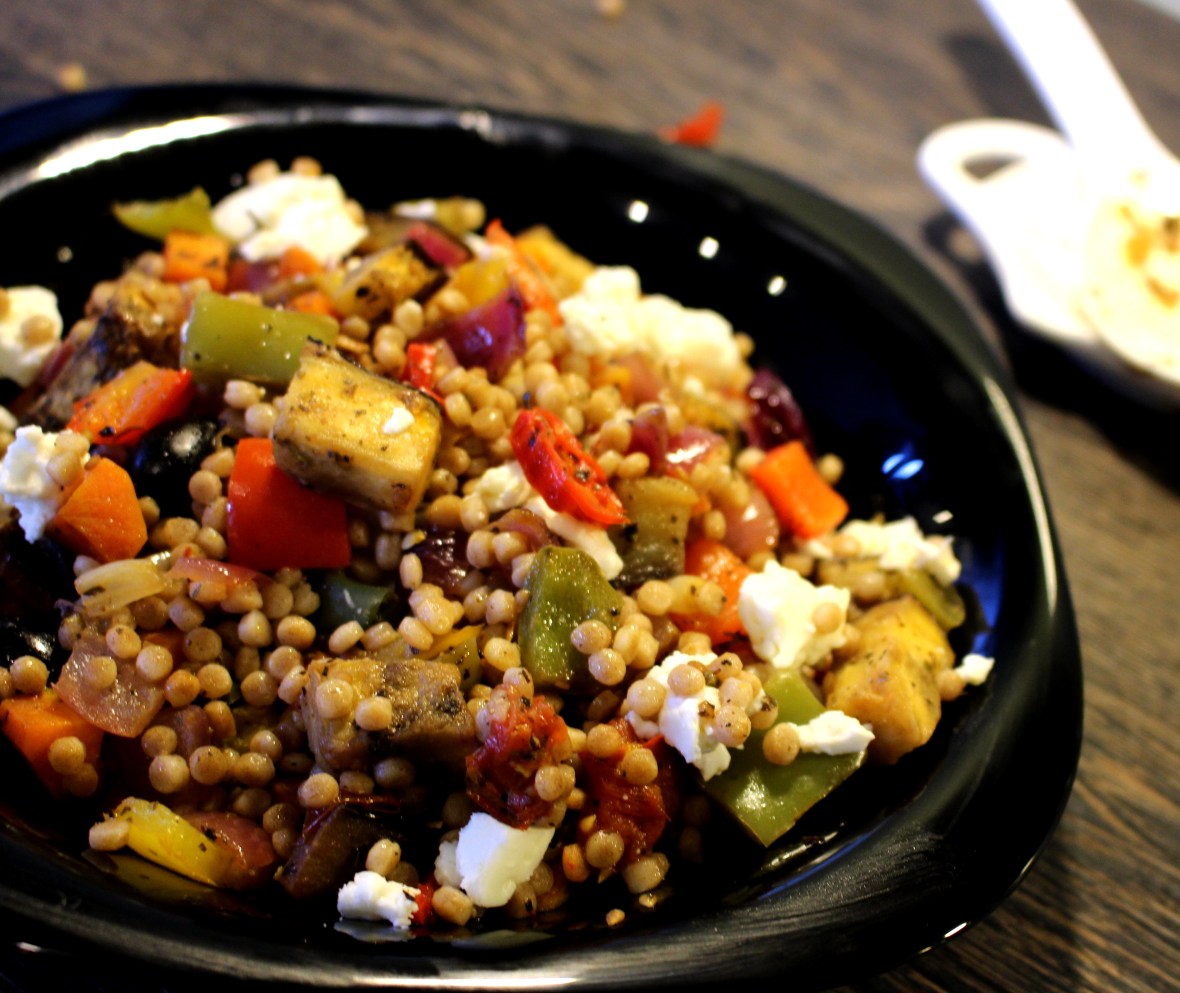
 I served with flat bread, sour cream and coriander dip and the lemon relish. You could even serve them as kofta’s in a light curry sauce.